Fear Me Hospital / Day 2–3 Guide: Pass the Scene, Stop Ending 2 Loops
Type: Walkthrough/Troubleshooting · Updated: Aug 3, 2026 · Tags: how to pass day 2, hospital death, ending 2, eye injury, Easy Mode hearts, Cindy/Paul sleepover, Day 3 CG
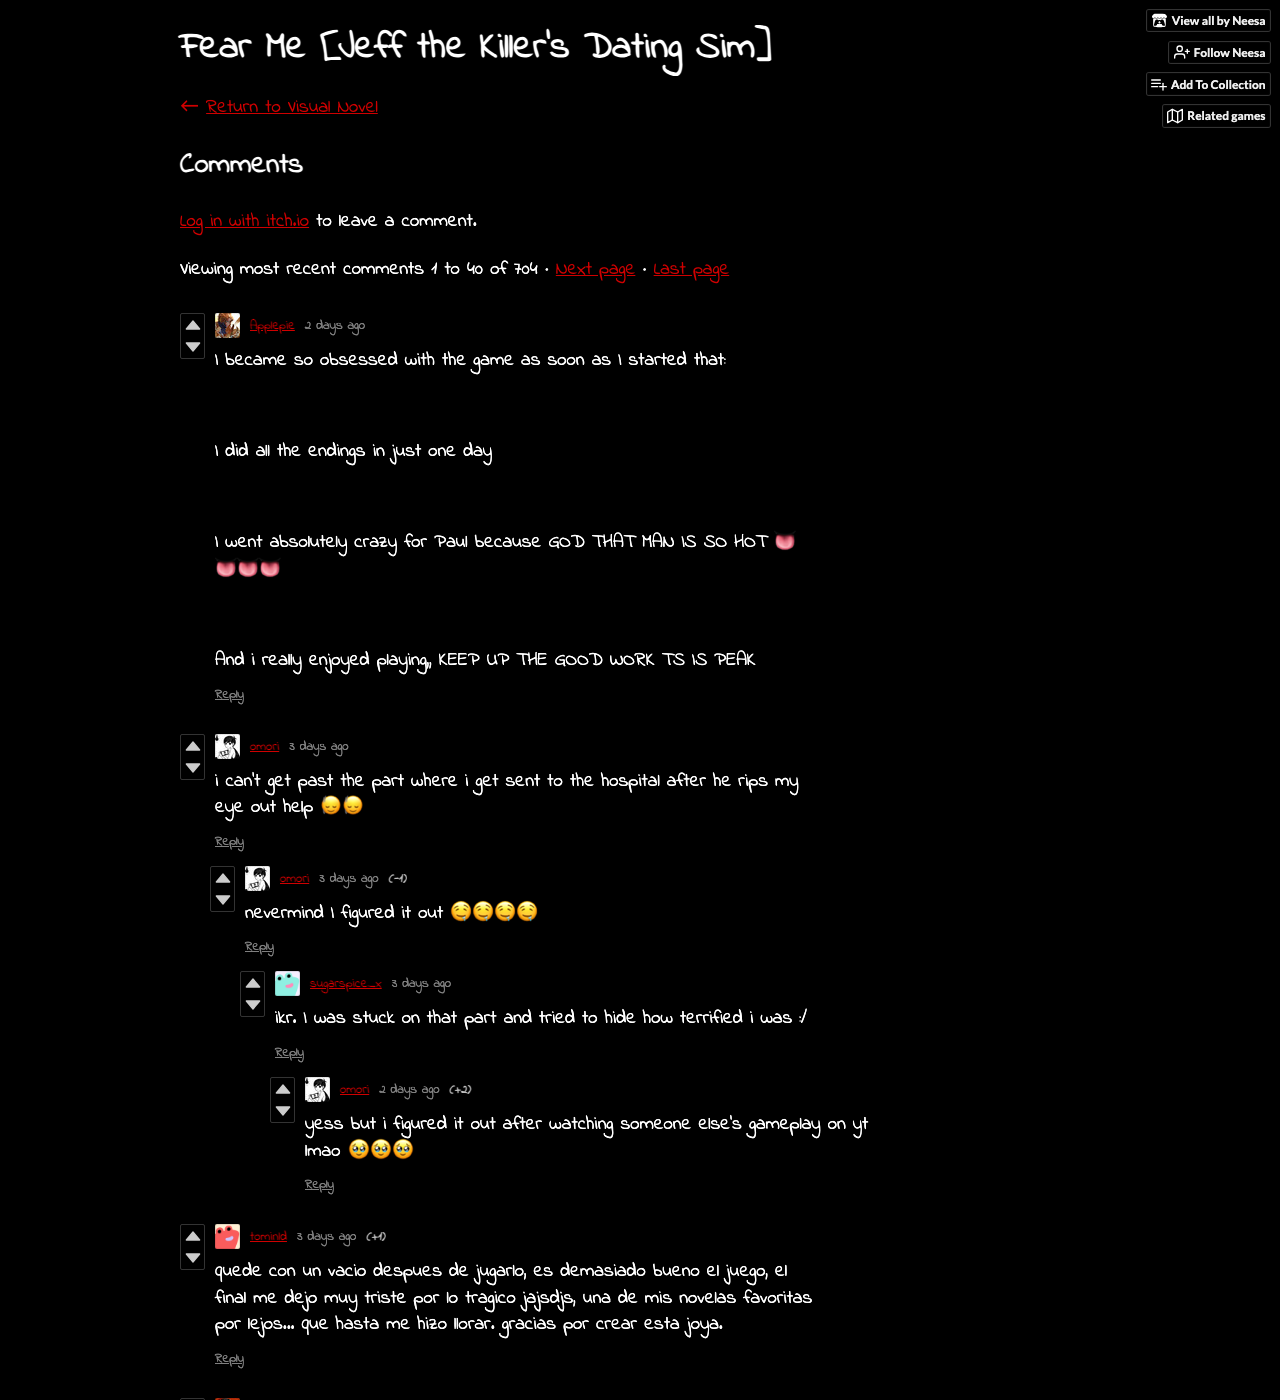
If you searched how to pass Day 2, Fear Me hospital death, eye injury stuck, or keep getting Ending 2 (“the doctors won’t help”), this page is the on-site answer so you do not need a third-party hub or short video. Public itch.io comments repeat the same pain: hospital always kills, not enough hearts, and confusion around Cindy/Paul-style sleepover or ally options while Jeff’s trust is still low. The fix is almost never “pick a different last hospital line.” It is a Day 1–3 affection decision tree plus the right save and Easy Mode use.
Decision Tree: Why the Hospital Feels Unwinnable
Walk the tree top to bottom. Stop at the first yes.
- Did Easy Mode show few or no hearts on Day 1–2? → Prior affection is too low. The hospital branch (Ending 2) is designed to punish low trust when you seek medical/official help. Reload Day 1 or early Day 2, not the last hospital prompt. Farm consistent Jeff-facing choices until hearts appear more often, then re-enter Day 2–3.
- Did you lean hard into ally / sleepover / outsider options (Paul, Cindy, doctor, friend-house style beats mentioned in itch comments) while Jeff was still cold? → The game can read that as escape or replacement. Put ally and sleepover experiments on a separate save. Keep one clean Jeff file for survival past the hospital.
- Are you only reloading the eye-injury or “fake doctor” prompt? → Too late. Ending 2 is a route check that becomes visible at the hospital; the mistake usually happened earlier. Jump to a Day 2 start or pre-hospital Day 3 slot.
- Hearts look fine, but doctor options all feel wrong? → Tone mismatch: too sweet to staff, too eager to hand control to authority, or flipping personality mid-scene. Keep the same careful/honest (or dry/suspicious) pattern you used earlier; do not suddenly “act nice for the hospital.”
- You only want the Day 3 CG / album image? → Different goal. Branch from a Day 3 start save; do not overwrite the high-affection Jeff file.
Short Answer (Pass Day 2–3 Without Ending 2)
The hospital section is a route check, not a puzzle that every prompt can solve. Public walkthrough notes and the in-game structure agree: enter Day 2 with enough affection, keep tone consistent, and treat outside help carefully. If every hospital option kills you, your save is usually already doomed — rebuild earlier hearts with Easy Mode on, then advance.
Easy Mode Usage for This Stuck Point
- Turn Easy Mode on before replaying Day 1–2 so heart icons show which lines raise Jeff’s interest.
- Count pattern, not one lucky heart: a single heart will not cancel a whole night of rejection or panic.
- If hearts barely appear before the hospital, do not push into the medical branch hoping the scene will “fix itself.”
- After you clear Day 3, you can turn Easy Mode off again if you prefer; keep it for diagnosis whenever Ending 2 returns.
- Later note: some mid/late ally or bar paths can show no heart even on Easy Mode (see Ending 5 on the walkthroughs hub). That is a different trap from the early hospital death.
What Players Are Actually Asking
Search and comment language clusters together: “pass day 2,” “hospital always dies,” “eye injury,” “Ending 2,” “doctor route,” “Paul route,” “Cindy / sleepover options,” and “need more hearts.” These are not four separate bugs. Day 2–3 is where early affection, ally curiosity, and help-seeking collide. Too cold to Jeff, too nice to everyone else, or inconsistent fear responses all surface as hospital death.
Hospital Route Checklist
| Symptom | Likely Cause | Where to Reload |
|---|---|---|
| Always die / Ending 2 loop / “doctors won’t help” | Affection/trust too low before hospital (not enough hearts). | Day 1 or Day 2 start — not the final hospital prompt. |
| Cindy / Paul / sleepover or ally options + hospital death | Side-character focus while Jeff’s hearts stayed low; reads as escape. | Day 2 start; isolate ally tests on a branch save. |
| Doctor options all feel wrong | Help framed as betrayal, panic, or total trust transfer. | Before the first serious doctor interaction. |
| Want the Day 3 album CG only | May need a colder or more sarcastic Day 3 path. | Day 3 start, separate slot from the Jeff good-ending file. |
| Survived hospital but later Jeff route fails | Tone stayed inconsistent after Day 3. | Day 3 or Day 5, per your save map. |
How to Play the Hospital Scene Without Spoiling Everything
Go into the hospital with a personality, not a spreadsheet. If your run has been careful and honest, keep being careful and honest. If your run has been dry, sarcastic, and less openly kind, do not suddenly become sweet to every doctor because the room looks safer. Several public player replies point toward the same route shape: Jeff often responds better when you are not overly nice to everyone in the hospital, and when your answers do not make him feel replaced by the first official-looking adult in the room.
That does not mean “be cruel at random.” The scene is not only asking whether a doctor can help. It is asking whether your protagonist still reads the danger correctly. A choice that looks medically sensible can still be emotionally wrong for the Jeff route if the game frames it as trust transfer, panic, or betrayal.
Doctor, Paul, Cindy & Sleepover-Style Branches
Itch comments often name Paul, Cindy, or sleepover-style ally beats next to hospital deaths. On this site the focused pages are the Paul route guide and Doctor Salazar route guide. The shared rule: liking a side character is not the same as keeping Jeff’s route open. If you flirt hard, trust quickly, or treat an ally / sleepover option like a free escape hatch while hearts are still low, you can send the wrong signal for a Jeff-centered survival past Day 2–3.
If your goal is Jeff’s better ending, be cautious with doctor and ally attention until you clear the hospital pressure. If your goal is to explore those scenes or collect CGs, use a separate Day 3 save. Do not combine a first good-ending attempt with a full side-character experiment unless you are ready to replay.
Day 3 CG and Album Advice
The missing Day 3 CG is a different intent than “how do I pass Day 2?” Make a Day 3 branch save and try a sharper tone: less eager kindness, more suspicion, more dry honesty, less comfort around authority. Isolate the experiment. Do not overwrite your main high-affection save for one image. Album work is easier after at least one full ending.
Recommended Save Map (Hospital Survivors)
- Slot A: End of Day 1 / start of Day 2 (affection checkpoint).
- Slot B: Start of Day 3, before hospital / doctor-heavy pressure.
- Slot C: Immediately before the first hospital or eye-injury sequence.
- Slot D: Ally / Paul / Cindy / sleepover experiment branch (never overwrite A–C).
- Slot E: Day 5+ only after the hospital is behind you.
If you are already stuck: reload the earliest pre-Day-3 save → replay with Easy Mode hearts visible → only then open the official Guide PDF. If nothing changes, return to Day 1. That is faster than reloading the same doomed hospital prompt twenty times. Day index on the hub: I’m stuck on Day X.
When to Use the Official Guide PDF
The official Guide PDF helps with ending and score logic after you have a sensible save map. For “I keep getting Ending 2,” use earlier reloads first. For score talk and late endings, pair with the Guide PDF and 50 hearts page. Current files: latest version (FearMe-1.2.6). Broader good route: How to Get the Good Ending.
Bottom Line
Hospital death on Day 2–3 is usually low prior hearts + outsider/ally pressure, not a single broken hospital option. Rebuild Day 1–2 affection with Easy Mode, park Cindy/Paul/sleepover tests on a branch save, keep a pre-hospital Day 3 slot, and only then push through the eye-injury / doctor sequence. Stay on this site’s walkthrough hub instead of third-party play hubs when you only need the route answer.